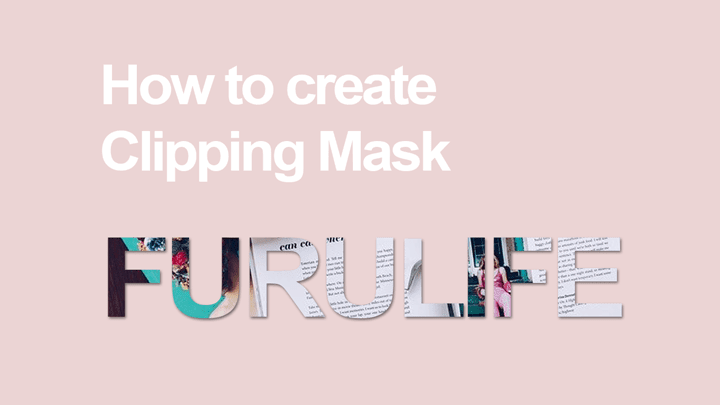
A clipping mask is a group of layers to which a mask is applied. The bottommost layer, or base layer, defines the visible boundaries of the entire group. Clipping mask is a basic function in Photoshop. This function works by hiding the clipped layer parts according to the layer shapes below it. The result just like layer mask. The major different between them is in clipping mask we work with more than one layer when in layer mask we can work on one layer.

To create a clipping mask we need a layer that works as a base layer. This layer could be a pixel, a type or a shape. For example I am going to make a layer with text. I want that text not just an ordinary text but I am going to make it more fun by adding an image on it.
Also read: How to zoom in Photoshop
How to create clipping mask
Step 1Create a blank layer and then create a text

Step 2
Import an image. You can also use solid color layer or whatever you want. If your image is too small or too large just rescale it.

Step 3
Select the above layer then go to "layer" and then go down to and then select "Create clipping mask" and you are done.

You can also do that with another simple way by going to layers panel and hover the line between the base layer and layer above and then press "alt" button on your keyboard and you will see the cursor changes then just click it.
Also read: How to flip image with Photoshop easily
Cool right?
You can practice about clipping mask with a different shape.
That is it. It's really simple. I hope this short post helpful.